Showing posts with label tassel earrings. Show all posts

Saturday, February 23, 2013

Burberry inspired eyelets and fringes earrings DIY

burberry prorsum fall 2013, fringe, eyelets, earrings diy,fashion diy, diy
Eyelets and fringes DIY earrings
burberry prorsum fall 2013 details
Burberry Prorsum fall 2013

I often appreciate Burberry Prorsum collections and the one that just walked the runway is no exception.
There are so many details that renew the classic Burberry trench and make the collection young and fresh, like sheer pencil skirts or the heart pattern over neutral beige or the metallic details.
I really liked bags and coats decorated with eyelets and fringes and I immediately imagined that detail becoming a  fun pair of earrings.
So here's the DIY tutorial.

La collezione di Burberry Prorsum è giovane e fresca,  piena di spunti creativi come la trasparenza delle gonne, la stampa a cuoricini sui cappotti e i dettagli metallici che spiccano sui toni neutri.
Molto originale l'ampio uso degli occhielli come decorazione di capispalla ed accessori. Un particolare che mi ha colpito più degli altri adatto ad essere trasformato in un divertente paio di orecchini.
Continuate a leggere per vedere il tutorial.


You'll need:
  • 2 eyelets 2 cm wide
  • a scrap of leather
  • scissors
  • glue
  • earring nails and backs

Occorrente:
  • 2 occhielli di 2 cm di diametro
  • un ritaglio di pelle
  • forbici
  • colla
  • chiodini per orecchini

    Start by applying an eyelet on leather. There is a tool often sold with the eyelets.
    Put leather between the top and the bottom part of the eyelet and press everything with the tool You may need to hammer it.

    Applicate l'occhiello sulla pelle. Spesso troverete l'applicatore nella confezione d'acquisto.


    Cut leather along the edge of the eyelet and then cut it straight down.

    Tagliate la pelle lungo il bordo dell'occhiello.


    Use scissors to fray the ends.
    Glue e piece of leather behind the eyelet and trim the edge.

    Sfrangiate la pelle con le forbici.
    Incollate un pezzetto di pelle dietro l'occhiello e rifilate il bordo.


    Glue an earring nail on the back and you've done. Have fun wearing your new pair of earrings!

    Incollate il chiodino. Uscite con il vostro nuovo paio di orecchini!

    Saturday, May 28, 2011

    Friday, May 27, 2011

    Mini tassels earrings DIY Tutorial


    You'll need:
    • cotton thread
    • bead cups
    • metallic wire
    • hooks
    • a piece of cardboard

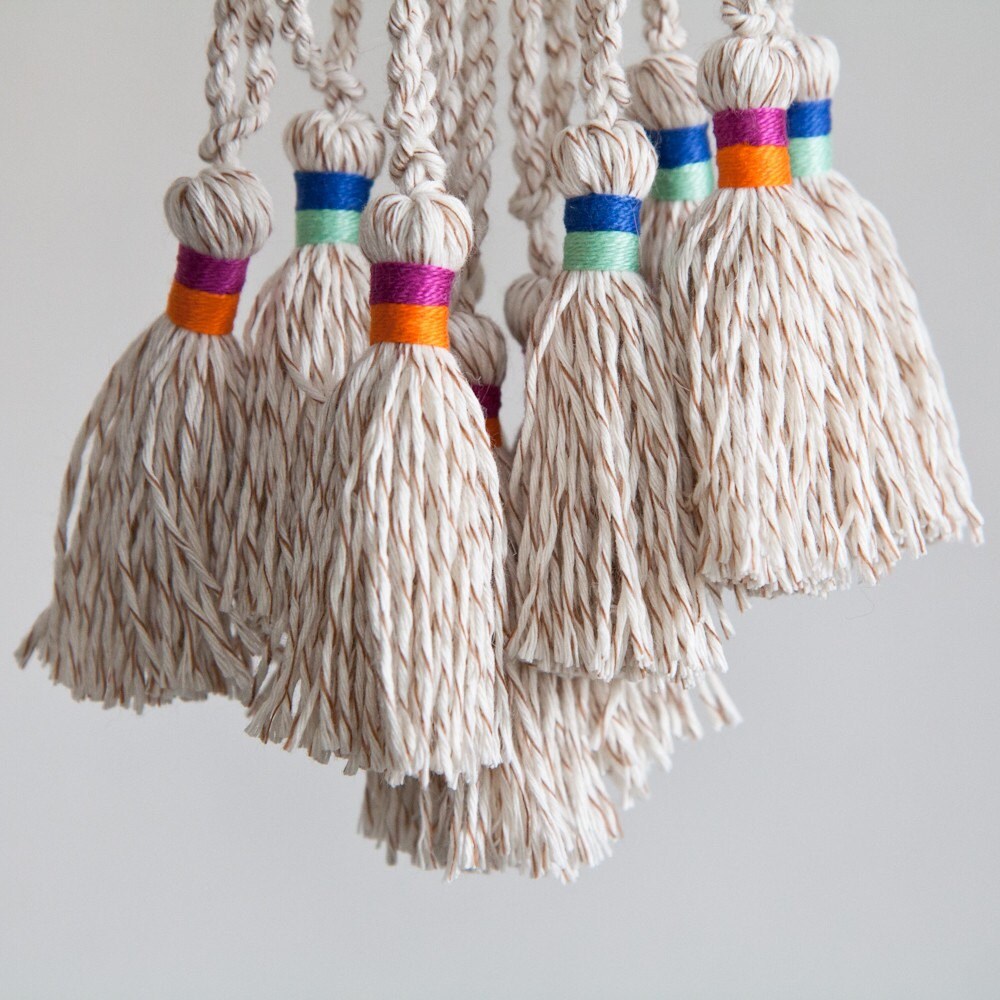
    The how-to for these earrings is really all about how to do the tassels. You'll just need to cut a small piece of cardboard that will help you during the process (a cheap tool, isn't it?).
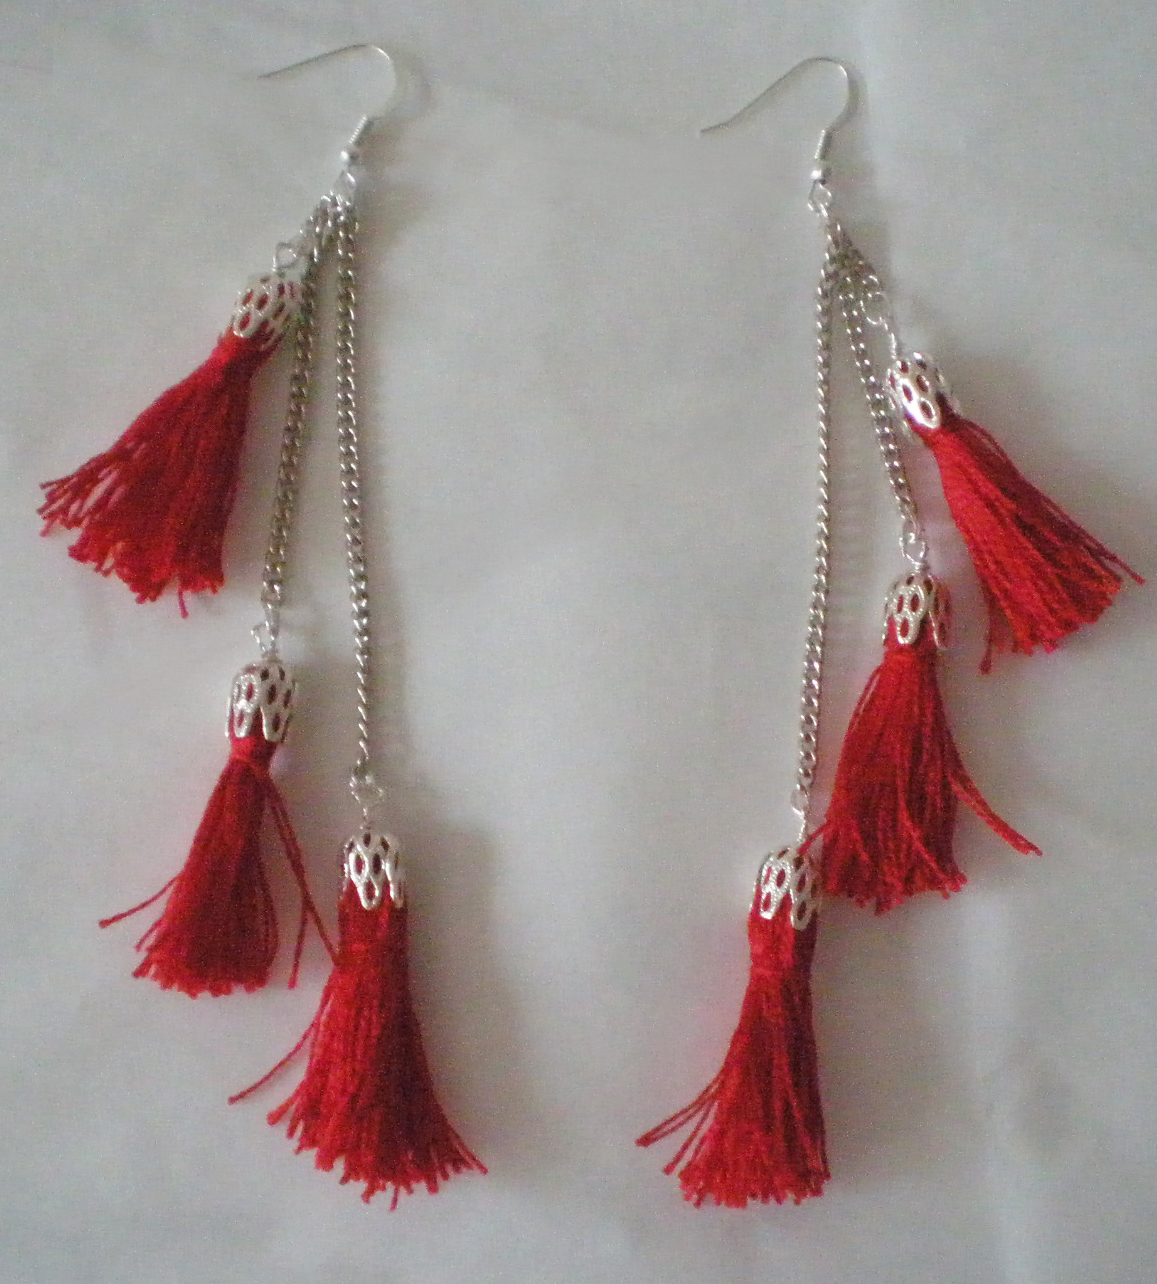
    Once you have all the tassels ready take a piece of chain and cut three pieces of different lenght and attach the tassels to them opening one of the loops with the help of a pincer.


    Avrete bisogno di:
    • filo di cotone
    • coppette argentate
    • filo metallico
    • ganci per orecchini
    • un cartoncino

    Il tutorial di questi orecchini praticamente si riduce alle istruzioni per realizzare le nappine. Un semplice pezzetto di cartoncino è l'utensile necessario a realizzarle (molto economico vero?).

    Una volta realizzate le nappine tagliate tre pezzetti di catenella di lunghezza diversa e attaccatecele aprendo un cerchietto della catenella con l'aiuto di un paio di pinze.

    Thursday, May 26, 2011

    Mini tassels earrings DIY


    I've just finished these earrings decorated with mini tassels. To make them you don't need a lot more than cotton thread; just 6 beads cups,a piece of chain and a piece of metallic wire. If you like these earrings get all you need and let's meet together here tomorrow for the tutorial! :D

    Check the tutorial here

    Ho appena finito questi orecchini, decorati con piccole nappine. Per realizzarli non avrete bisogno di molto di più di un filo di cotone; 6 coppette argentate,un pezzetto di catenella e un filo metallico. Se vi piacciono procuratevi tutto il necessario e incontramoci di nuovo qui domani con il tutorial! :D

    Per il tutorial cliccate qui

    Tuesday, March 22, 2011

    Tassel Hair earrings DIY


    I warn you.Today Diy project is super easy with massive impact! And it involves the use of human hair!Wanna know more?
    It concentrates all the fashion trends for spring:tassles,neon colours,orange,bright colored dyed hair.
    What do you do if you like the bright colored hair trend but you're not so brave to dye your hair and hair extentions are too expensive?Simple,you can wear hair extension as unique tassle earrings!
    The pictures are pretty self explainatory about the making,you have only to buy a wisp of colored hair,cut at the desired lenght,i made them very long like 22 cms,cut the paperclip and squeeze the hair in the closure,add hooks and you're done!
    Now you own a pair of earrings that you can even style different ways according to your hair!
    You can use your straightner and make them curly,wavy or whatever.
    Do you like them?
    If you do them totally send me a picture :D


    Vi avverto il progetto fai da te di oggi è velocissimo ma di grande impatto e per realizzarlo avrete bisogno di capelli umani!
    Ne volete sapere di più?
    Beh,concentra tutti i fashion trend più cool della stagione primaverile:frangie,l'arancione,i capelli tinti in colori sgargianti,i colori neon!
    Che fate se quei capelli tinti di arancione vi piacciono ma non avete il coraggio di tingere i vostri e le extension sono troppo costose?
    Beh indossate ciocche di capelli come orecchini,si mischieranno ai vostri capelli per un look davvero unico.
    Le immagini vi giudano nella realizzazione del progetto.Tutto quello che dovete fare è comprare una ciocca di capelli colorati,togliere il fermaglio che vi è cucito sopra,stringere i capelli in una piccola chiusura e tagliarli della lunghezza desiderata(io li ho fatti molto lunghi circa 22 cm)Aggiungete i gancetti ed è fatta.
    Ora avete un paio di orecchini che potete addirittura mettere in piega come volete,usate la piastra per arricciarli o allisciarli,sperimentate.
    Vi piacciono?
    Se li realizzate mandatemi una foto! :D